
Few things disrupt a weekend project quite like an intermittent flicker on the ammeter or a tail light that dies only when you step on the brake. Vintage wiring harnesses have earned decades of folklore around their mysterious failures, but most electrical trouble comes down to basic physics and aging copper. Under the hood, corrosion quietly builds resistance long before a component completely gives up.
Starting at the Frame Ground
Nine times out of ten, a frustrating circuit issue traces back to a neglected ground strap rather than a blown fuse or failed switch. Take a brass wire brush to the chassis contact points, clear away rust or overspray, and reattach the ground wire with a dab of dielectric grease. Re-checking voltage at the terminal after cleaning the ground often restores full brightness in an instant.
Tracing Voltage Drop with Patience
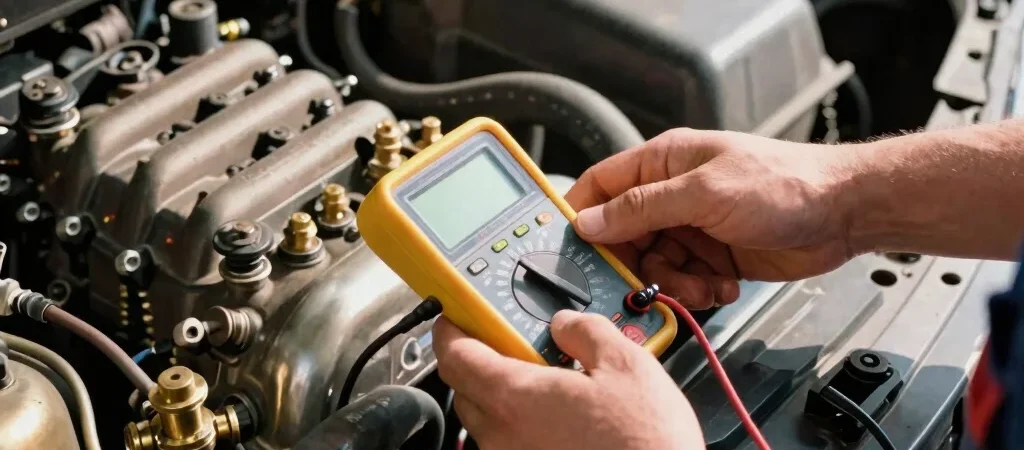
Static continuity tests can fool you because a single remaining strand of copper wire will beep on a continuity tester even if it cannot carry real current. Set your digital multimeter to DC voltage and measure across the load while the circuit is actively powered up. A voltage drop exceeding half a volt across any connector pin points straight to internal resistance that needs immediate wrenching.
Protecting the Restored Harness
Once you have located and repaired the broken joint or corroded terminal, protect your work against engine heat and road vibration. Use high-temperature woven cloth loom tape instead of sticky vinyl electrical tape, which unravels into a gummy mess over time. A tidy harness not only looks authentic in your dashboard view but keeps electrical gremlins at bay for thousands of miles.